A Cold-Morning Workshop Routine: Warming Tools, Materials, and Mind
Cold mornings introduce predictable frictions into a maker’s day: stiff plane blades, slow-setting adhesives, brittle finishes, and wood that has not yet reached room equilibrium. These small failures add up—surfaces that tear under a chisel, glue joints that fail, or finishes that crawl. A short, repeatable morning routine helps reduce waste, protects tools and materials, and offers a deliberate way to enter the workshop with attention rather than reaction.
Problem
Temperature and humidity affect materials and tools in several practical ways. Metal can feel colder and more brittle, wooden handles shrink slightly and feel loose, glues and finishes cure more slowly, and stock moved from a cold shed will cup or twist as it warms. Working immediately on cold stock or with unprepared tools increases the likelihood of errors and shortens tool life. Beyond the physical, cold environments make it harder to focus and to judge tactile feedback—both critical for careful making.
Principles
- Acclimate materials slowly. Allow wood and assembled components to reach a stable temperature and relative humidity before cutting or joining.
- Warm tools and hands safely. Metal tools can be warmed in hand or near a low, stable heat source to restore feel; avoid rapid heating that could stress temper or finishes.
- Test rather than assume. Cold changes behavior—test a joint, finish, or cut on scrap to confirm outcome before committing.
- Prioritize simple tasks first. Use the early part of a session for sharpening, setup, and low-precision work to build momentum and confidence.
- Protect materials and maintain equipment. Regular waxing, light oiling of metal parts, and proper storage reduce cold-related problems over time.
Examples
Gluing and Joinery
Problem: PVA and hide glues cure much more slowly at low temperatures; some adhesives lose initial tack.
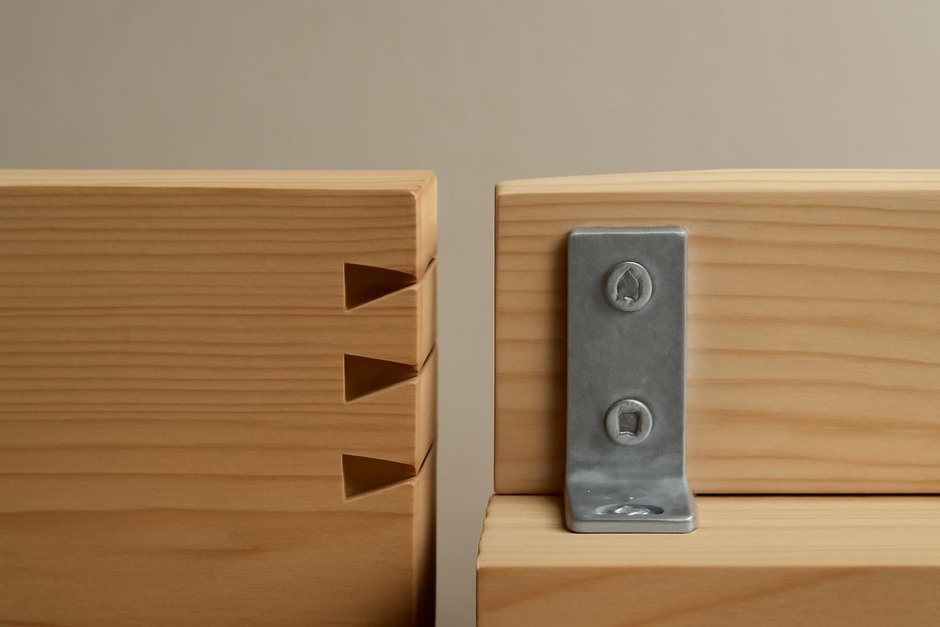
Routine: Bring all glued pieces into a warmer room for several hours when possible. If this is impractical, clamp in a sheltered area away from drafts and use longer clamp times. Always glue a scrap piece to check set time and bond quality in current conditions. For hide glue, warm the glue to working temperature and keep it warm while you work; for epoxies, choose a slower-working mix and allow extended cure time.
Sawing, Planing, and Cutting
Problem: Cold wood can chip or split, and blades can chatter until they are warm and in true contact with the stock.
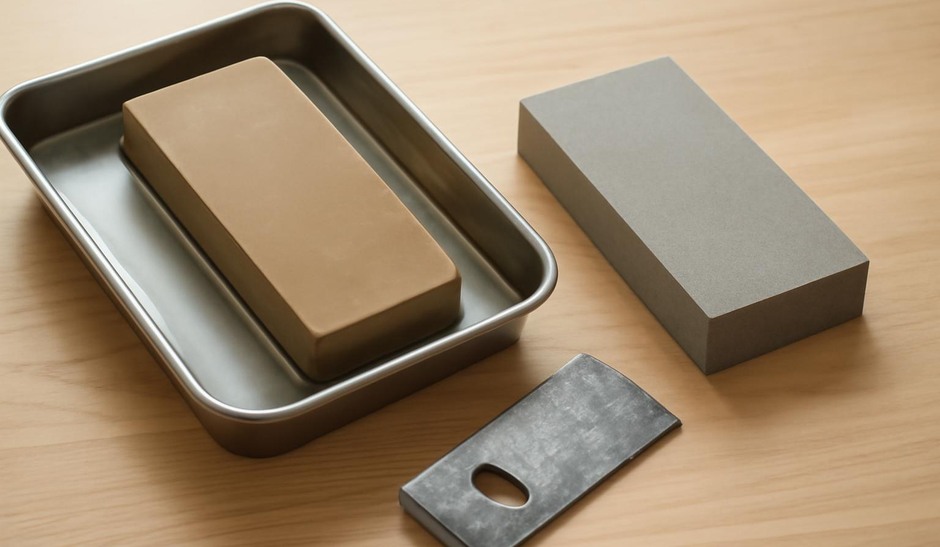
Routine: Start the session by checking and honing cutting edges; a quick strop or light hone restores cut quickly. Use a low-risk test cut on scrap to tune depth and feed rate. For planing, take lighter passes at first—this helps you feel the wood’s grain response as it relaxes from cold to workspace temperature.
Finishing and Surface Work
Problem: Solvent evaporation and film formation change in cold temps—brush marks, orange peel, or poor flow are more likely.
Routine: Keep finishes in a warm cabinet before starting. Apply thinner coats and allow more open time between coats. Test application on a scrap or an inconspicuous edge. If a warm booth is not available, consider moving a small part into a warmer room to cure for the first hour or two, then return it to the main workshop to continue drying.
Tool Care
Problem: Moving parts stiffen, oils thicken, and wooden handles can split if they experience quick swings in humidity.
Routine: Wipe metal tools with a light protective oil before the workday. Keep toolboxes and chests slightly warmed or at least out of direct cold drafts. For planes and hand tools, work them a few minutes on scrap to redistribute oil and confirm smooth operation.
Concise Practice Checklist
- Bring stock indoors to acclimate for several hours if possible; place flat to avoid warping.
- Warm finishes and adhesives to recommended working temperature in a small cabinet or low heat area (not directly on a heat source).
- Perform a quick tool inspection: blades honed, moving parts lightly oiled, handles checked for tightness.
- Start with low-stakes tasks: sharpening, layout, measuring, sanding scrap, or fixture setup.
- Test joins, cuts, and finishes on scrap before committing to final pieces.
- Allow extended clamp and cure times; note times in a shop log for future reference.
- Keep a small warming area for sensitive workpieces if you need faster initial curing or setting.
- End the session by wiping steel with light oil and storing materials out of direct cold drafts.
This modest morning routine asks only a little time but changes the day that follows. It protects tools and materials, reduces surprises, and turns the first actions in the shop into practice rather than firefighting—helping steady attention and supporting careful making through the season.